Two major prerequisites for installing Oracle Enterprise Manager (OEM) are having an existing, certified Oracle Database and an installation of Oracle WebLogic Server. Steve Callan shows you the steps performed for database preparation and for installation of Oracle WebLogic Server.
Two major prerequisites for installing Oracle Enterprise Manager (OEM) are having an existing, certified Oracle Database and an installation of Oracle WebLogic Server. For the purposes of this article, let’s assume you already have an existing database (11g) with Database Control configured. That’s pretty much what you get anyway as a result of a normal or regular installation of Oracle on a server (including your own PC or laptop).
This article looks at the steps performed for database preparation and for installation of Oracle WebLogic Server.
Database preparation
All steps involve create or install, with the exception of one component on the existing Oracle database. Given that Database Control was configured, then its repository must be deconfigured and the existing SYSMAN schema must be dropped. The installation and configuration of OEM creates its own SYSMAN user. Along with the new SYSMAN (and SYSMAN_MDS) user comes a MGMT tablespace with several data files.
For a “real” installation of OEM, as in what you would do in a workplace, you’d definitely want to comply with all requirements listed in the Oracle Enterprise Manager Grid Control Basic Installation Guide. The table below is a collection of various links, patch numbers and support notes from My Oracle Support.
| Master Note for installing OEM | MOSC note 1067438.1 |
| Oracle Enterprise Manager | 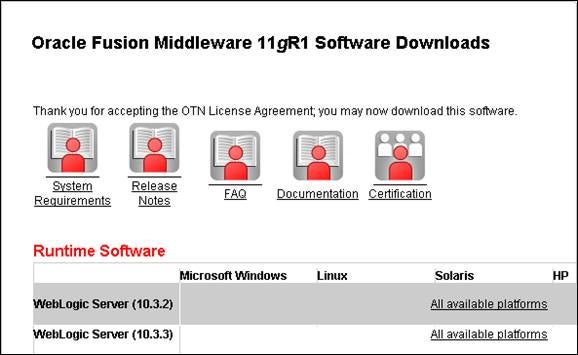
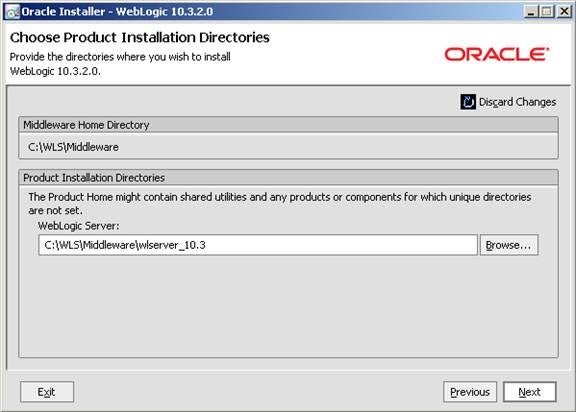
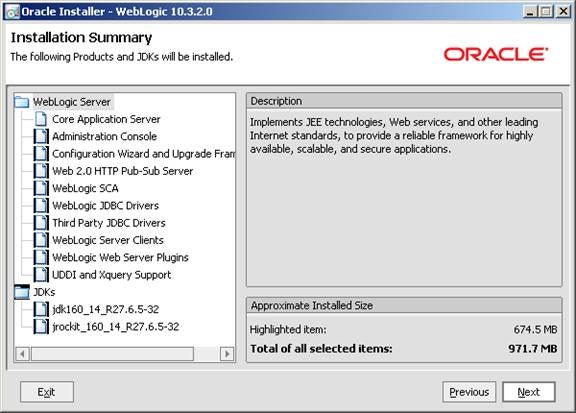
Within the master note for installing OEM, there is a link to a Windows WLS installation note (1088223.1). Within this note is some good news: you don’t have to install/upgrade Java because the Windows version of WLS comes pre-bundled with its own Java resources. As far as which specific download to select, if you select the 10.3.2 Package Installer version, you’ll be able to follow along step by step with note 1088223.1 as it uses the wls1032_win32.exe file from that download option. You may encounter installer crashes if installing from a network drive. If so, copy the exe file to a local drive and re-try. The actual installation of WLS is pretty simple. Be sure to choose the “Typical” option (screen shot is not shown below, but it’s pretty obvious what to do when that step appears).
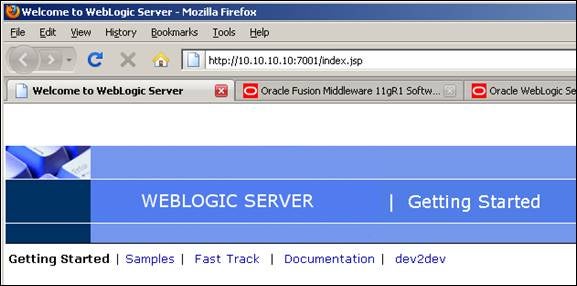
Once WLS is installed, access to the welcome page is based on the loopback adapter IP address and port 7001.
Username and passwordStart the Administration Console (button is to the right on the index page shown above) and use weblogic/welcome1 as the username/password.
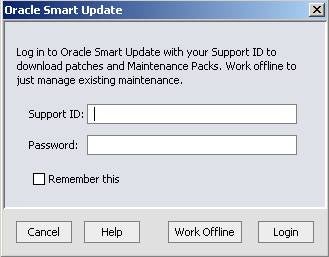
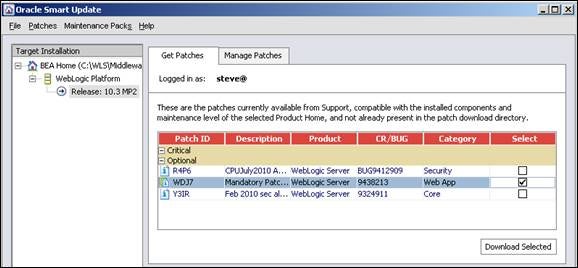
With proof/confirmation that WLS was successfully installed, we’re now ready to apply the WDJ7 patch. To install the patch, use the Oracle Smart Update Utility. The utility can be started in the <path to Middleware>\utils\bsu folder. The bsu.cmd simply runs the client-patch.jar file, so if you need to, you can execute the jar file via the command line using: C:\WLS\Middleware\utils\bsu> java –jar client-patch.jar
At this point in the process, if you don’t have access to a Customer Support Identifier (CSI), going forward will be at risk in terms of not installing the patch.
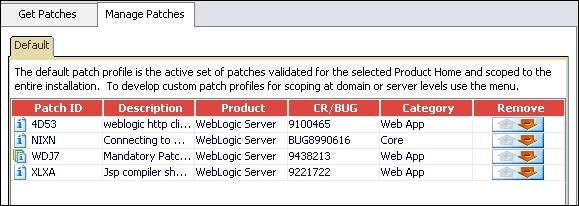
After downloading and validating for conflicts, the WDJ7 patch (and several others by default) becomes available for installation. Click on Apply and the patch (or patches) is applied.
At this point (not quite finally though) we’re ready to install OEM itself, which will be covered in the next article. |