


In the article, Introduction to Firebase, an overview of Firebase was provided. You were shown how to set up a Firebase account and create a Firebase project all at no cost! In this article, you build upon what you learned by setting up a NoSQL Cloud-based database and then creating a very simple web page to add items to it. The database will simply store puns along with a category and identifier. Figure 1 shows the web page that will be used to add the items.
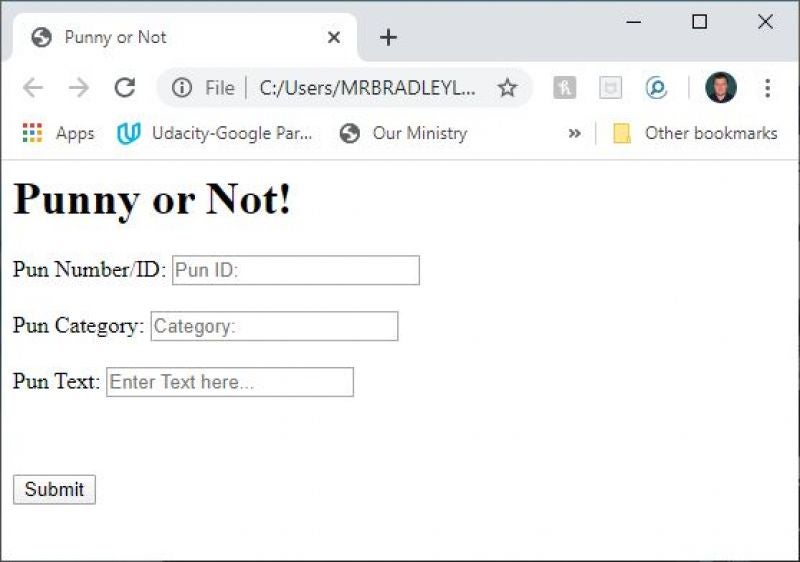
Figure 1: A web page writing to a Firestore NoSQL database.
Setting up your Cloud Firestore Database in Firebase
To begin, return to Firebase and create a new project. You can get to Firebase by going to https://console.firebase.google.com/. This page will give you the option to add a new project, as shown in Figure 2. You can find more information about creating the project in the previous article.
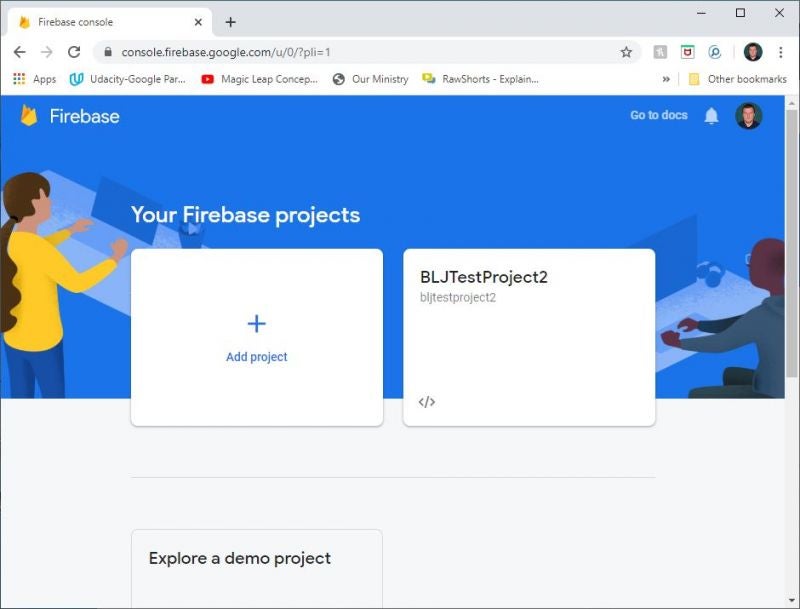
Figure 2: Adding a new Firebase project.
I’ve named my project “The Pun Project”. Once you’ve created a new project, you’ll be taken to the Firebase Console as shown in Figure 3.
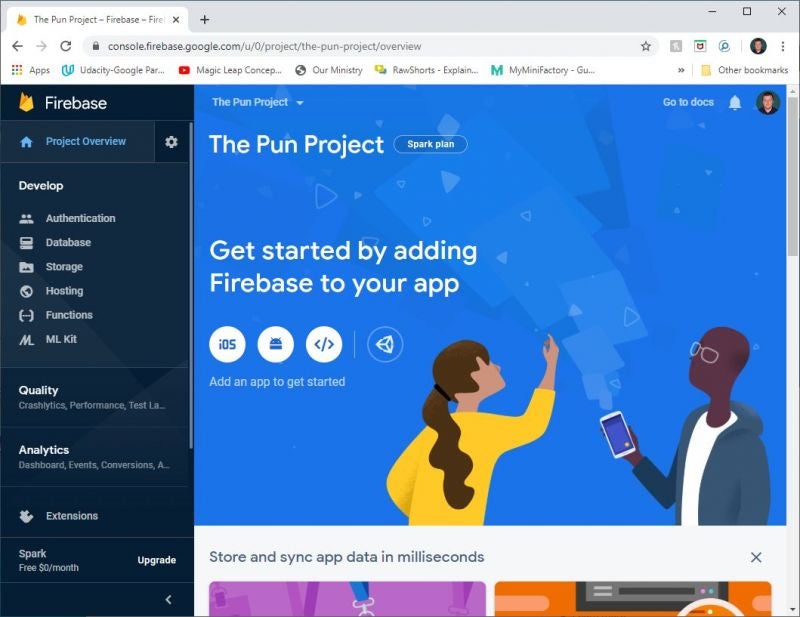
Figure 3: The Firebase console
In the Console, you’ll be able to create the database that the web page will use. The first step to doing this is to click on the Database option on the left navigation menu. This will pull up a screen as shown in Figure 4 that will allow you to create a Cloud Firestore, which will be your NoSQL database.
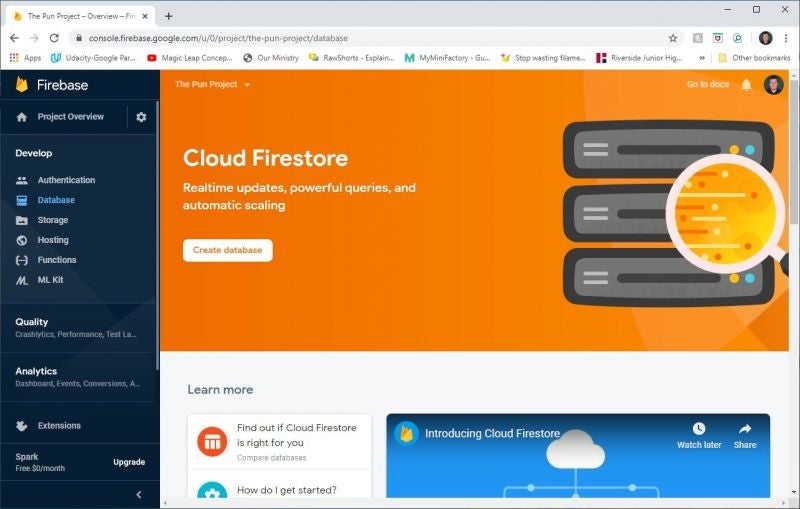
Figure 4: The start screen for creating a Cloud Firestore
Clicking on the Create Database button will begin the process of walking through the steps for creating the database. The first decision that needs to be made, as shown in Figure 5, is whether the database will be started in production or test mode. In order to keep this article simple and focused on adding data, test mode will be selected. When a production-ready database base is created, you’ll want to add more security to it than what is provided in the test mode.
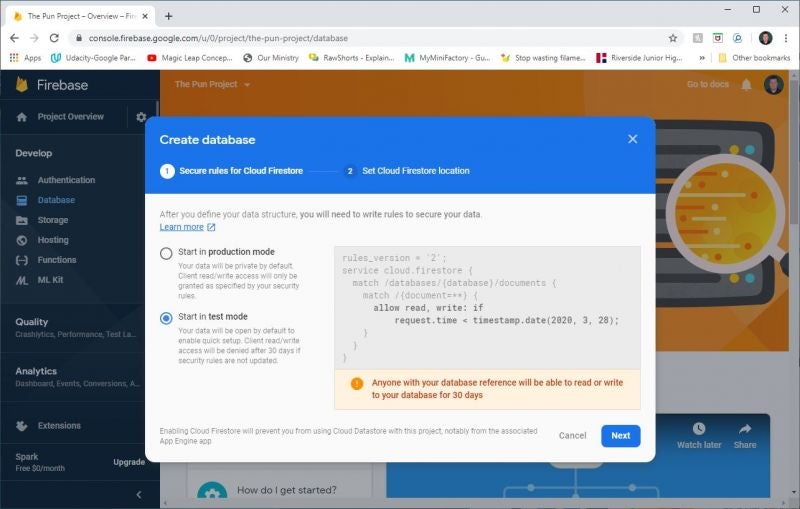
Figure 5: Selecting the mode for your Firestore database
With the mode selected, the next step is to state the location where you want to create the database. You are creating your database in the Cloud, so you have a choice of locations as to which servers you want to use. By clicking on the Cloud Firestore location dropdown shown in Figure 6, you’ll be able to choose a multi-regional or regional location. I suggest that if you are in North America, you select the nam5 (us-central) location. If you are elsewhere, then pick the region that is closest to your location.
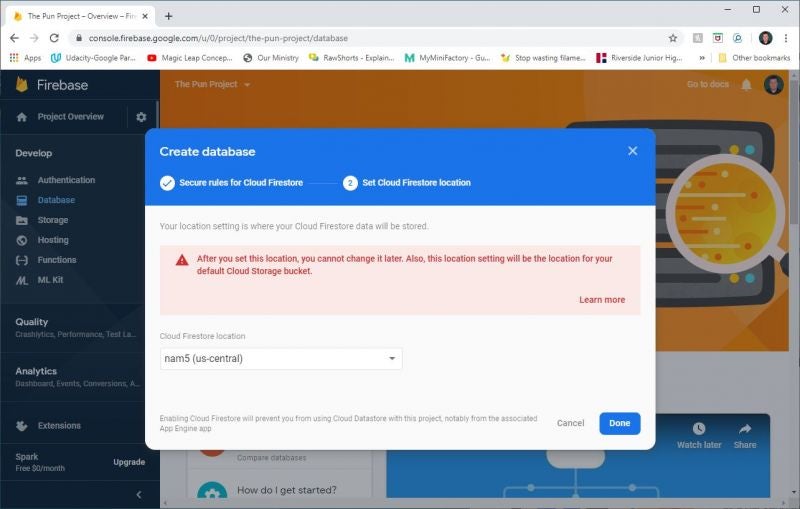
Figure 6: Selecting a region for your Firestore database
With your region selected, click the Done button and Firebase will provision your Cloud Firestore database. Once provisioning is done, you will be ready taken to the Database console page as shown in Figure 7 where you can begin using your database online.
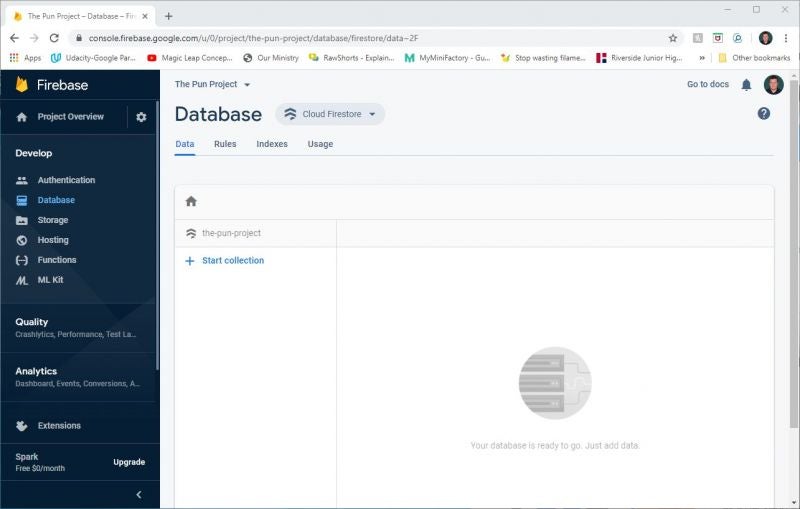
Figure 7: The Database console in Firebase
Collections and Documents in NoSQL
If you have followed along, then at this point you’ve created a NoSQL Cloud-based database in Firebase’s Cloud Firestore. It is beyond the scope of this article to go into the details of NoSQL, but I’ll provide the highlight of what you need to know to do the sample data addition that was promised in this article.
A NoSQL database is made up of collections that contain documents. A document basically contains the fields that you plan to store. For example, in this article, a collection of puns is being created. The Puns collection will contain documents. Each document will be a different pun.
In Firebase, you can click on the “+ Start collection” link shown in Figure 7 to pull up a dialog that will let you create the Puns collection. You be prompted as shown in Figure 8 to add a collection ID. In this case, we’ll call the collection “Puns”.
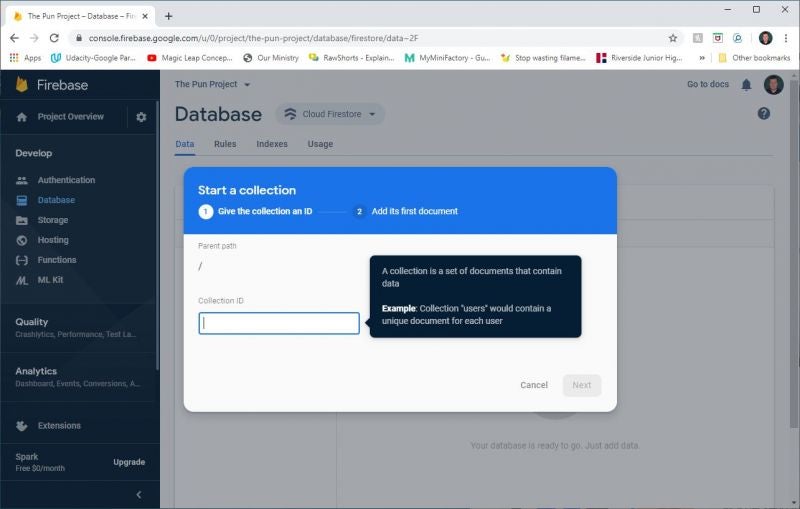
Figure 8: Creating a Cloud Firestore collection
Once the collection is created, you’ll be able to create documents within the collection as shown in Figure 9. Again, a document is basically a record within your NoSQL database. Because this is NoSQL, there are no strict rules forcing you to make sure every field is in every document (record) or that every document within a collection even matches. This is left to you to do.
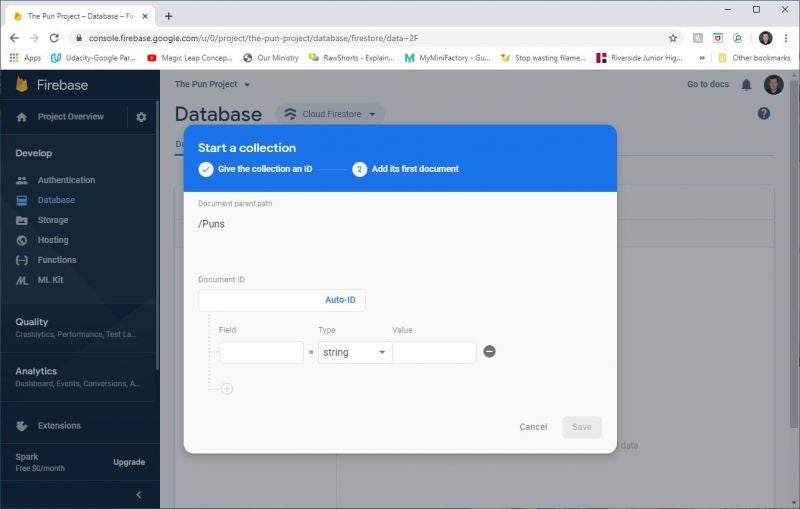
Figure 9: Adding a document to a collection
Each document you create will need to have a Document ID. You can either enter this ID, or you can choose to leave it blank and an ID will be automatically generated. To keep things more legible in the example using puns, I’ll give the first document an ID of Pun0001.
In using the console to add documents, for each document, you must specify not only the data values, but also the name of the fields and the types. A dropdown allows you to select the datatype you want to add.
In figure 10, two string fields have been added that will be used for the Pun example. These are a Category and the text for the pun (PunText).
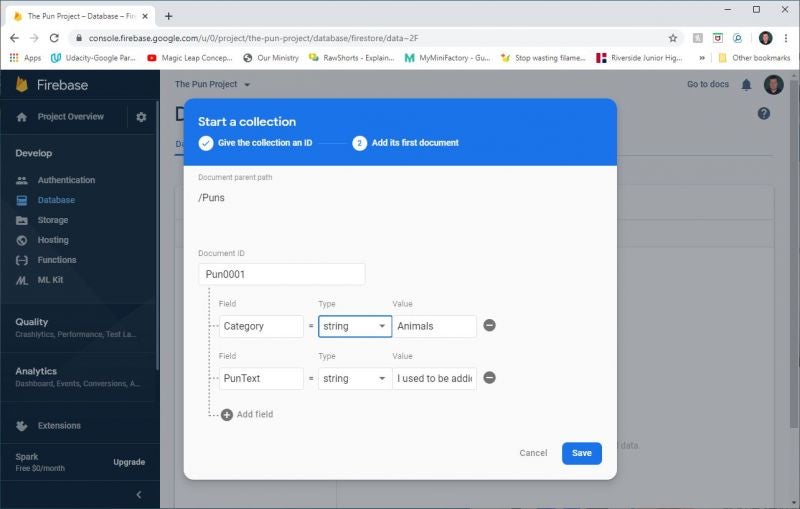
Figure 10: Setting up a pun document.
When the Save button is clicked on the dialog shown in Figure 10, the document (which is basically a record) will be created as shown in Figure 11. At this point, a Cloud Firestore database has been created on the Cloud and a record (document) has been added! More accurately, a collection called “Puns” has been created that has a document called “Pun0001” that contains fields called Category and PunText.
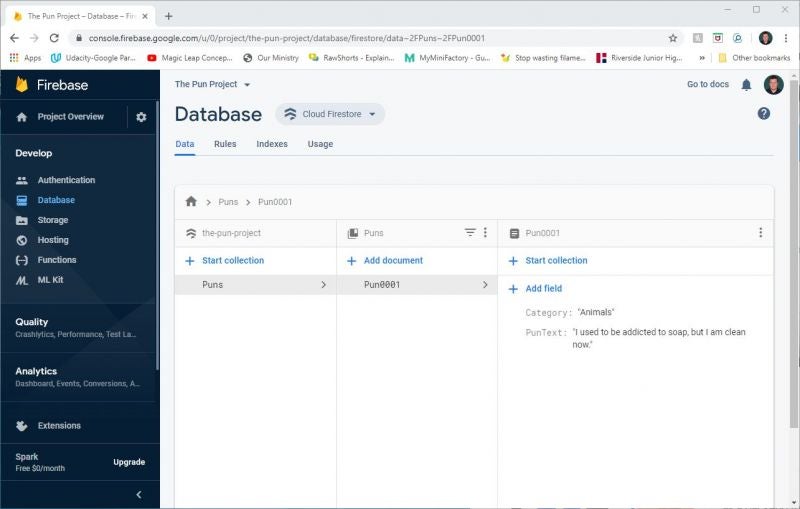
Figure 11: The Cloud Firestore database with a document added!
Note that at this point, if you wanted to add additional records using the console, you would click the “+ Add document” link shown in the middle of Figure 11. You could then add additional puns with IDs, categories, and pun text. You’d want to be careful to make sure that each time you add a new pun that you use the same field names.
While you might think it is tedious to have to re-enter field names, this is because of the flexibility of NoSQL. One way to get around this is to create a web application that will do that part of the work for you!
Note: You’ll notice in Figure 11 that there are a couple of places where you can start new collections. It is beyond the scope of this article to dig into the structure of NoSQL collections and documents.
Creating a Web Application to Access Cloud Firestore
With your Cloud Firestore set up, you can now add data from outside the Firebase site. To do this, you’ll need to first grab some information from Firebase that will let you associate your web app to the Firebase project you’ve created.
Start by clicking on the Project Overview link in the upper left portion of the navigation menu. This will take you to an overview page for your project as shown in Figure 12.
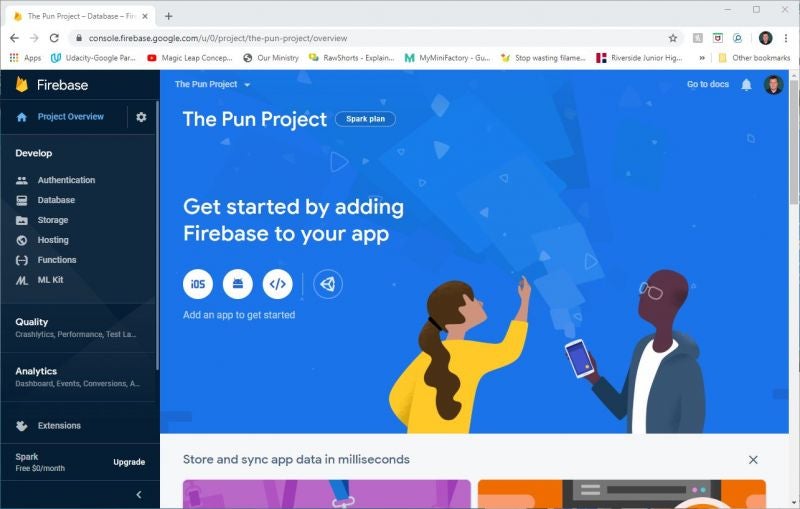
Figure 12: The Firebase Project overview page
On this page, you’ll see that there are icons for four projects types that can be selected. These are for iOS, Android, web, and Unity. Click on the </> icon to indicate a web app is being done. This will display the dialog shown in Figure 13 that will ask for a name for the application. The name being created is used to coordinate the web app you create with the Firebase project and features within the Firebase project. For this demo, I’m using the name, “My Punny Web App” and clicking the Register app button.
Once clicked, you will be presented with a screen that includes HTML code that you will add to your Web application. This HTML code is what ties Firebase to your app.
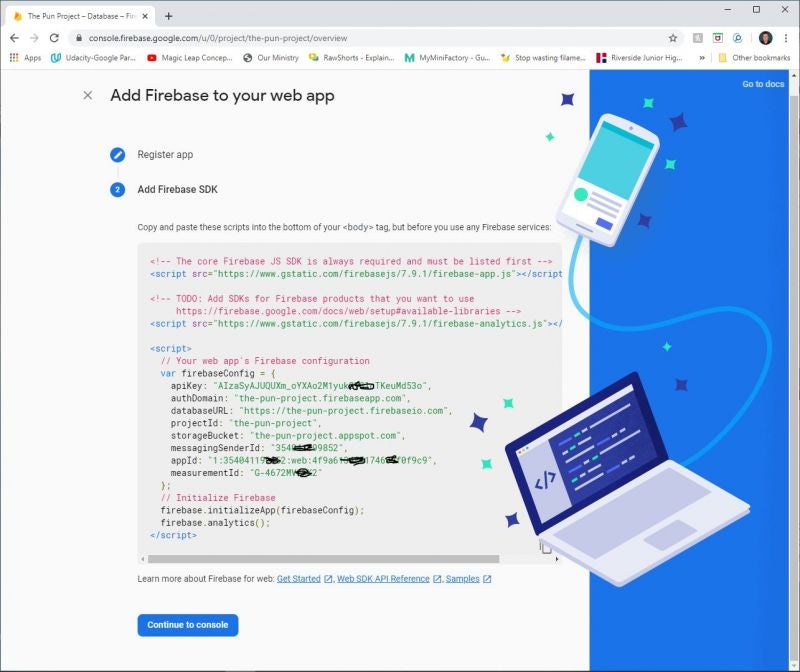
Figure 13: The Firebase code for the web app.
You will want to copy this code to paste into the HTML page that we will create later in the next steps of this article. If you leave the page shown in Figure 13, you can always get back to this app code from the Firebase console. Simply click on gear next to the Project Overview link in the upper right corner and select Project settings. The resulting page will include information on your project
Creating the Web Page / App to access Firestore
With everything set up on the Firebase side, it is time to create the web page that will allow data to be added. Listing 1 contains basic HTML for displaying the page that was shown in Figure 1 earlier.
Listing 1: Basic HTML for the Punny Page.
<html>
<head>
<title>Punny or Not</title>
</head>

<body>
<div class="main-form">
 <h1 id="punTimes">Punny or Not!</h1>
    Pun Number/ID: <input type="text" placeholder="Pun ID: " id="PunID"><br /><br />
    Pun Category: <input type="text" placeholder="Category: " id="Category"><br /><br />
    Pun Text: <input type="text" placeholder="Enter Text here..." id="PunText"> <br /><br />

<br /><br />
 <button id="saveButton" onclick="storeData()" >Submit</button>
</div>

<script src="./pun.js"></script>

</body>
</html>
Listing 1 is basic HTML. Three fields are being set up to allow for the user to enter data. Each is given an ID that will be needed to associate the entered data to a document that will be added to the Firestore. a button is also included with an event to store the data. Currently, that function has not been written; that’s the goal of this article! I’ve also included a link to an external JavaScript file called pun.js. Initially, that file is empty, but that will be changed shortly!
It is within Listing 1 that you will want to paste the code that was copied from Firebase earlier. The code that was shown in Figure 13 should be pasted near the end of your body tag, in this case just before the inclusion of the puns.js script. I’ve pasted the code for my pun app into Listing 2.
Listing 2: The html page with the Firestore code added.
<html>
<head>
    <title>Punny or Not</title>
</head>

<body>
<div class="main-form">
 <h1 id="punTimes">Punny or Not!</h1>
    Pun Number/ID: <input type="text" placeholder="Pun ID: " id="PunID"><br /><br />
    Pun Category: <input type="text" placeholder="Category: " id="Category"><br /><br />
    Pun Text: <input type="text" placeholder="Enter Text here..." id="PunText"> <br /><br />

<br /><br />
 <button id="saveButton" onclick="storeData()" >Submit</button>
</div>

<!-- The core Firebase JS SDK is always required and must be listed first -->
<script src="https://www.gstatic.com/firebasejs/7.9.1/firebase-app.js"></script>

<!-- TODO: Add SDKs for Firebase products that you want to use
     https://firebase.google.com/docs/web/setup#available-libraries -->
<script src="https://www.gstatic.com/firebasejs/7.9.1/firebase-analytics.js"></script>

<script>
  // Your web app's Firebase configuration
  var firebaseConfig = {
    apiKey: "AIzaSyAJUQUXm_oYXAo2M1yukGT8lnTKeuMd53o",
    authDomain: "the-pun-project.firebaseapp.com",
    databaseURL: "https://the-pun-project.firebaseio.com",
    projectId: "the-pun-project",
    storageBucket: "the-pun-project.appspot.com",
    messagingSenderId: "354041199852",
    appId: "1:354041199852:web:4f9a613485174688f0f9c9",
    measurementId: "G-4672MVCRK2"
  };
  // Initialize Firebase
  firebase.initializeApp(firebaseConfig);
  firebase.analytics();
</script>

<script src="./pun.js"></script>

</body>
</html>
With the addition of the script to your HTML, you’ve wired your application to access Firebase. You do, however, need to add one more line of code. While the generated code will provide the connections to Firebase, you need to add an additional link to get the code that will access the Cloud Firestore database within Firebase. You’ll want to add the following script source line to the listings:
<script src=”https://www.gstatic.com/firebasejs/7.9.1/firebase-firestore.js”></script>
This can be added right after the call to:
<script src=”https://www.gstatic.com/firebasejs/7.9.1/firebase-app.js”></script>
The next step is to add the logic that will associate the entered fields from the user with the fields that are to be added to the Firestore database. This will be done in the puns.js file to keep the code clean.
The process is to first create a database variable that will be tied to the Firebase Cloud Firestore database. Then variables will need to be created that can be filled with the values the user entered on our page. This will be done with standard document.getElementById() calls. Finally, the variable gleamed from the web page need to be added to the Cloud Firestore database as fields within a document within the Puns collection. Listing 3 shows the JavaScript that can accomplish all of this.
Listing 3: The pun.js JavaScript file
var db = firebase.firestore();

function storeData() {

  var inputPun = document.getElementById("PunID").value;
  var inputCategory = document.getElementById("Category").value;
  var inputText = document.getElementById("PunText").value;

     db.collection("Puns").doc(inputPun).set({
         Category: inputCategory,
         PunText: inputText
     })
     .then(function() {
         console.log("Doc successful");
     })
     .catch(function(error) {
        console.error("Error writing doc", error);
     });
}
Note that in Listing 3, that the database was created with the variable called db. This variable is then used to create the new document (record) by specifying the name of the collection that was called Puns in the process shown in Figure 8. This is followed by the document name, which in this case is our pun ID gathered from the user and put into the variable, inputPun. Within the document, two fields are being added, which is done within the set. To add the fields, the name of the field is listed, then a colon and finaly the string value to be added. In this case, inputCategory is being added to the Category field and inputText is being added to the PunText field.
The listing also includes some testing and error logic to log a message to the console. If you open the developer console of your browser, then you will see a “Doc successful” message displayed when a document is added to your Cloud Firestore as shown in Figure 14.
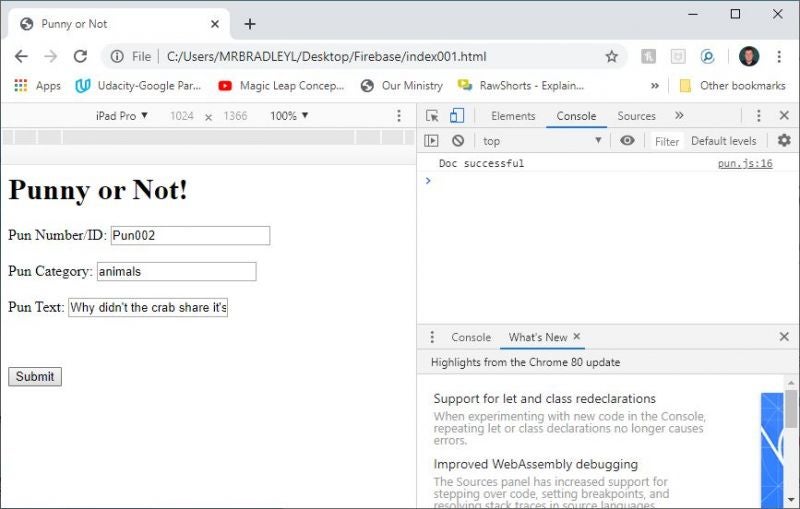
Figure 14: A successfully added document.
It can be confirmed that the document was added by going back to the project in the Firebase console and looking at the database (done by clicking Database on the left navigation menu). Figure 15 shows that the addition of the new pun was successful.
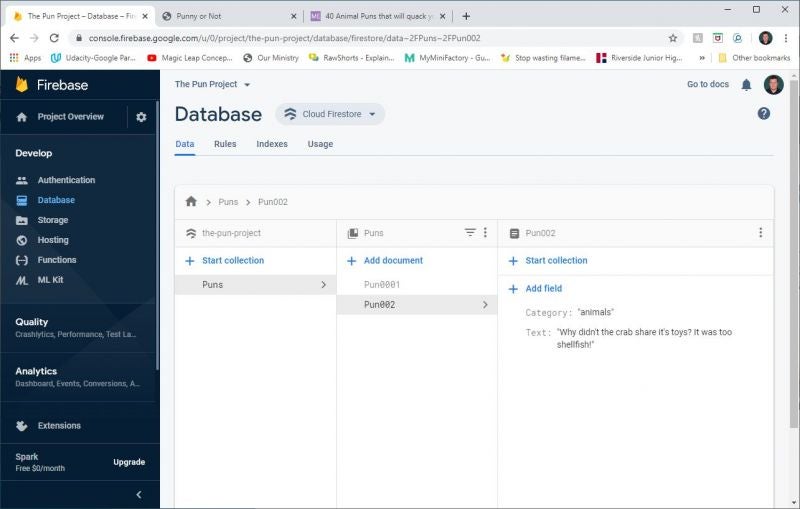
Figure 15: The Puns collection with the new pun002 document
Wrapping it Up
A lot was covered in this article on adding documents to a Firebase Cloud Firestore NoSQL database. You learned how to do this from both the Console and from a simple web app. This is just a starter to show how easy adding can be. Having said that, adding in only one step in a CRUD system. There is still more to learn! Oh, and if you like puns, check out my book, Punny or Not Book of Puns, available on Amazon!
# # #