


In a predominant mobile world, it is essential as a developer to know which databases are available and which technologies can be used to write a data-centric mobile app. In this article you will learn about the SQLite database, Xamarin, and how to make them work together with C#.
What is SQLite?
SQLite is an embedded SQL database engine, which means that SQLite doesn’t have separate server processes, like other SQL databases. It reads and writes directly to disk files. Contained in a single database file is a complete SQL database that has multiple tables, indices, triggers and views.
Xamarin
As explained in my Xamarin article series on Codeguru.com, Apps that are built using Xamarin contain standard, native user interface controls, so that they look and behave the way the end users expect. Apps built with Xamarin have access to all the functionality exposed by the underlying device, and they can leverage platform-specific hardware acceleration. Xamarin.Forms is a cross-platform User Interface (UI) toolkit that allows mobile developers to create native user interface layouts that can be shared across Android, iOS, and UWP (Universal Windows Platform) apps. With Xamarin.Forms, you can share the business logic and data structures, and define the UI using common platform-independent controls.
Installing SQLite for Visual Studio 2019
The following steps will guide you through the process of installing SQLite with an Android App (with Xamarin) in Visual Studio 2019.
- Start Visual Studio 2019. You can obtain a free Community version online if you don’t currently have a copy.
- Click Create a New Project.
- Install Xamarin if it isn’t already installed. Note that if you need help installing Xamarin, then check ou the article, An Introduction to Xamarin, Part 1: Setup.
- Create a Mobile App (Xamarin.Forms) project.
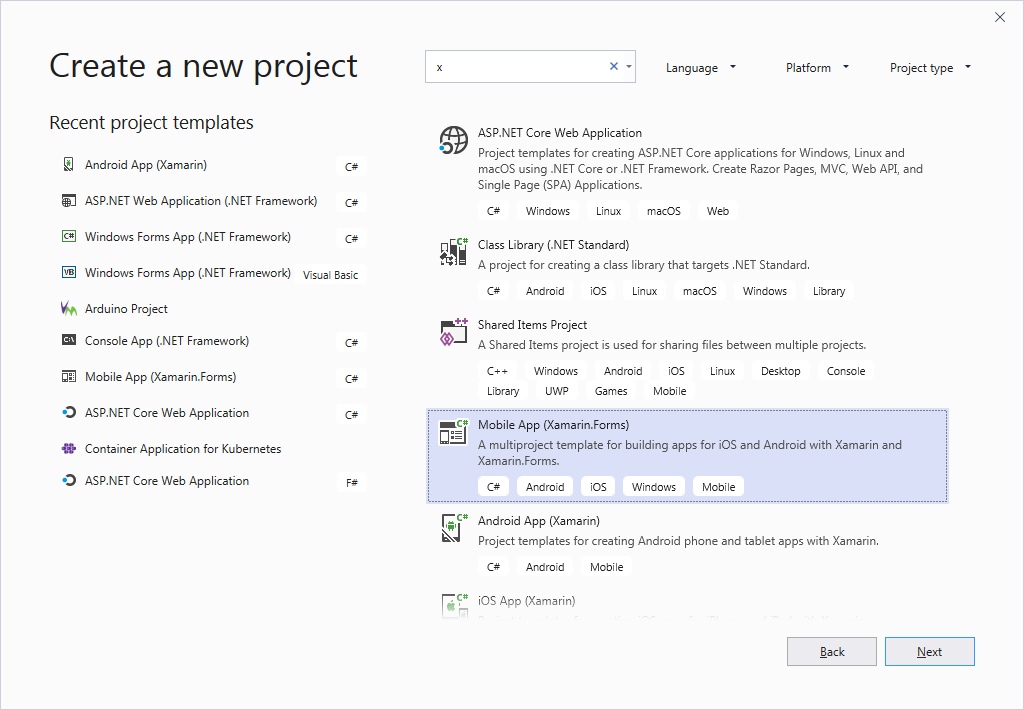
Figure 1: Mobile App (Xamarin.Forms) template - Click Next.
- Give the project a name and a location.
- Click Create.
- In the Template box, select Blank, as shown in Figure 2.
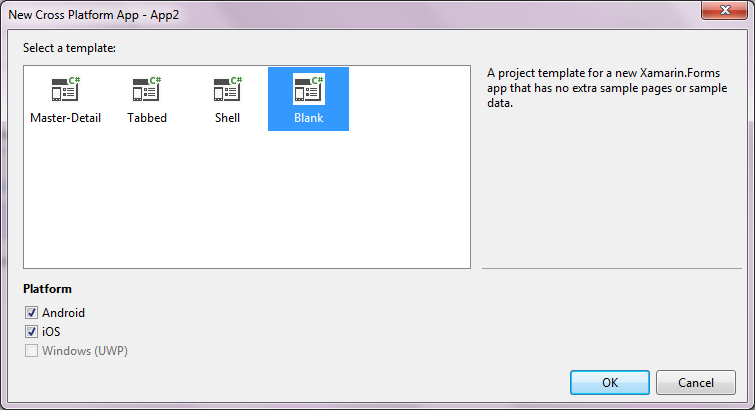
Figure 2: Blank Xamarin.Forms Template - Ensure that the app uses .NET Standard as the shared code mechanism.
- Select a project in the Solution Explorer.
- Click Project.
- Click Manage NuGet Packages….
- Click Browse.
- Type in SQLite in the Search bar.
- Select sqlite-net-pcl from the list.
- Click Install, as shown in Figure 3.

Figure 3: sqlite-net-pcl NuGet package
Adding the App Code
The next steps create a class to store information about students. This information is then saved into an SQLite database.
- Select the project in the Solution Explorer.
- Right click, click Add, click Class.
- Select Class as shown in the list in figure 4 and name it Student.
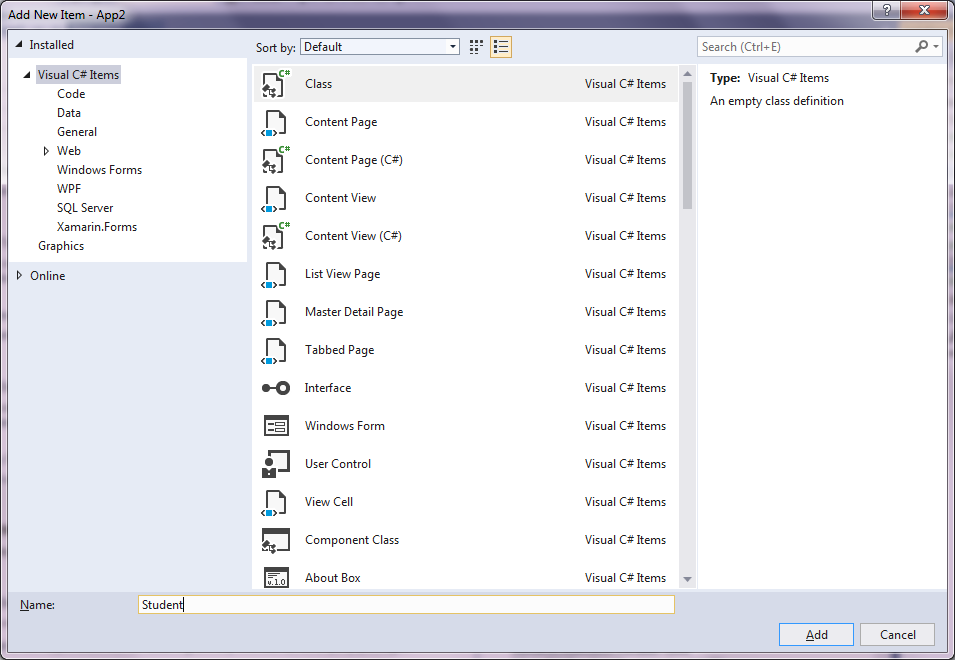
Figure 4: Add Class - Click Add.
- Edit the Student Class to look like the following code:
using SQLite; public class Student { [PrimaryKey, AutoIncrement] public int StudentID { get; set; } public string StudentNames { get; set; } public int StudentAge { get; set; } } - Add a class for the database operations in Visual Studio by selecting Project, Add Class
- Name the new class Database.cs and then click OK.
- Add the following code:< br />
using System.Collections.Generic;
using System.Threading.Tasks;
using SQLite;

public class Database
{
   readonly SQLiteAsyncConnection _db;

   public Database(string dbPath)
   {
      _db = new SQLiteAsyncConnection(dbPath);
      _db.CreateTableAsync<Student>().Wait();
   }

   public Task<List<Student>>GetStudentAsync()
   {
      return _db.Table<Student>().ToListAsync();
   }

   public Task<int> SaveStudentAsync(Student student)
   {
      return _db.InsertAsync(student);
   }
}
Here you are creating a connection to the database. The code then creates a new table named Student. The Database class has two methods. One for getting a list of all students, and one for saving the Student details into the Student table.
- Expand App.xaml in the selected project.
- Double-click App.xaml.cs to open it.
- Edit the code in App.xaml.cs to resemble the following code:
using System;
using System.IO;
using Xamarin.Forms;
using Xamarin.Forms.Xaml;
public partial class App : Application
{
   static Database db;

   public static Database StudentDB
   {
      get
      {
         if (db == null)
         {
            db = new Database(Path.Combine(Environment.GetFolderPath(Environment.SpecialFolder.LocalApplicationData), "students.db3"));
         }
         return db;
      }
   }

   public App()
   {
      InitializeComponent();

      MainPage = new MainPage();
   }

   protected override void OnStart()
   {
      // Handle when your app starts
   }

   protected override void OnSleep()
   {
      // Handle when your app sleeps
   }

   protected override void OnResume()
   {
      // Handle when your app resumes
   }
}
The above code defines a Database property that creates a new Database instance. A local file path and filename are passed as the argument to the Database class constructor, so that the database can be created in the passed folder and with the passed name.
- Double click the MainPage.xaml file to open it.
- Edit the StackLayout section to resemble the following code:
<StackLayout Margin="20,35,20,20">
   <Entry x_Name="studentnameEntry"
      Placeholder="Enter Student Names" />
   <Entry x_Name="studentageEntry"
      Placeholder="Enter Student Age" />
   <Button Text="Add to Students Database"
      Clicked="OnButtonClicked" />
   <ListView x_Name="listView">
      <ListView.ItemTemplate>
         <DataTemplate>
            <TextCell Text="{Binding StudentNames}"
               Detail="{Binding StudentAge}" />
         </DataTemplate>
      </ListView.ItemTemplate>
   </ListView>
</StackLayout>
Notice that there is no entry specified for the StudentID field. This is because the StudentID field are created in the Students class as the PrimaryKey and AutoIncrement in the first Code Segment. This means that an ID will automatically be assigned.
The above code creates two entries: one for the Student names, and one for the Student age. This information is bound to the database through the Binding property. A button is used to store the entered information into the Students table.
- Expand the MainPage.xaml file to expose the MainPage.xaml.cs file.
- Double click MainPage.xaml.cs.
- Add the OnAppearing and OnButtonClicked events as shown in the following code:
protected override async void OnAppearing()
{
   base.OnAppearing();
   listView.ItemsSource = await App.StudentDB.GetStudentAsync();
}

async void OnButtonClicked(object sender, EventArgs e)
{
   if (!string.IsNullOrWhiteSpace(studentnameEntry.Text) && !string.IsNullOrWhiteSpace(studentageEntry.Text))
   {
      await App.StudentDB.SaveStudentAsync(new Student
      {
         StudentNames = studentnameEntry.Text,
         StudentAge = int.Parse(studentageEntry.Text)
      });

      studentnameEntry.Text = studentageEntry.Text = string.Empty;
      listView.ItemsSource = await App.StudentDB.GetStudentAsync();
   }
}
Here everything is brought together. When the screen appears, the GetStudentAsync method is called to list all the students inside the ListView. When the button is clicked, and the studentnameEntry field is not empty, the SaveStudentAsync method is called to store the details into the database.
Conclusion
As you can see it is quite easy creating a simple SQLite database for a mobile platform. Obviously, there are many other databases with which you can work with on a mobile platform, but this is the quickest and easiest to get started. You are welcome to have a look at my book for even more mobile database projects.